Foundation, radiant floor tubes and slab (cont):

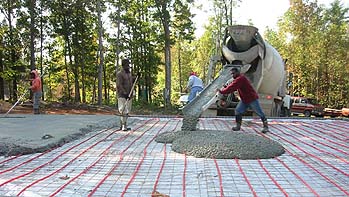
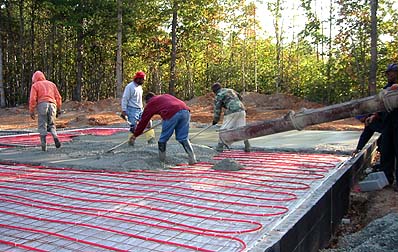
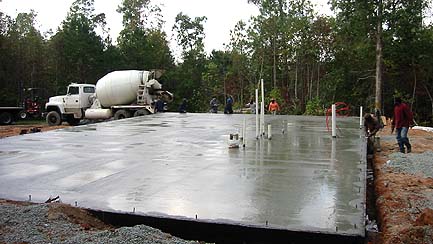
A 4" concrete slab was poured on top of the radiant floor tubing.
Pouring the slab


Pouring the slab


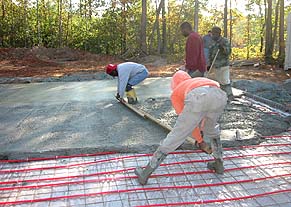
Screeding helps work out
high and low spots.
screeding


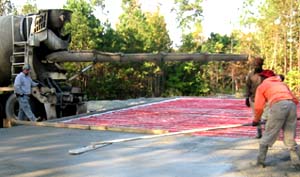
Then a bull float helps level the high spots, fill the voids and work the aggregate slightly below the surface.

floating

The slab was allowed to sit for several hours and then towards the end
of the drying process a power trowel was used
for final finishing and smoothing.
The radiant floor tubes stayed in place and the pressure remained at 20 psi !

Finished slab

Note all the plumbing pipes in one central location. This has several benefits:

  • Less pvc material is needed for the drain lines;
  • The water won't need to be pumped as far to serve the two bathrooms and kitchen. Shorter runs from the water heater saves energy;
  • If a change or repair is needed to any of the plumbing, it's all in one location for easier access;
  • The floor plan can easily be changed in future, so long as the bathrooms and kitchen remain in their same locations. The roof truss system is open span which means no structural interior walls to allow for future modifications to the floor plan;
  • There will be a "utility mechanical room" to house the mechanical, plumbing and heating systems of the home all in one central location. The radiant floor intake will also be located in the utility mechanical room.
  •  

    Building partners:

    • Slab pouring and finishing - Ron Williams, Pro-Site Services, LLC
      1203 Alma Street, Durham, NC 27703. Tel: 919 308-5555

    Next Photos

    Previous Page

    Back to Project Home Intro